Quick Start
Get started with EnvManager in just a few minutes.
1. Create an Account
Visit EnvManager and create your account. You can sign up with your email address.
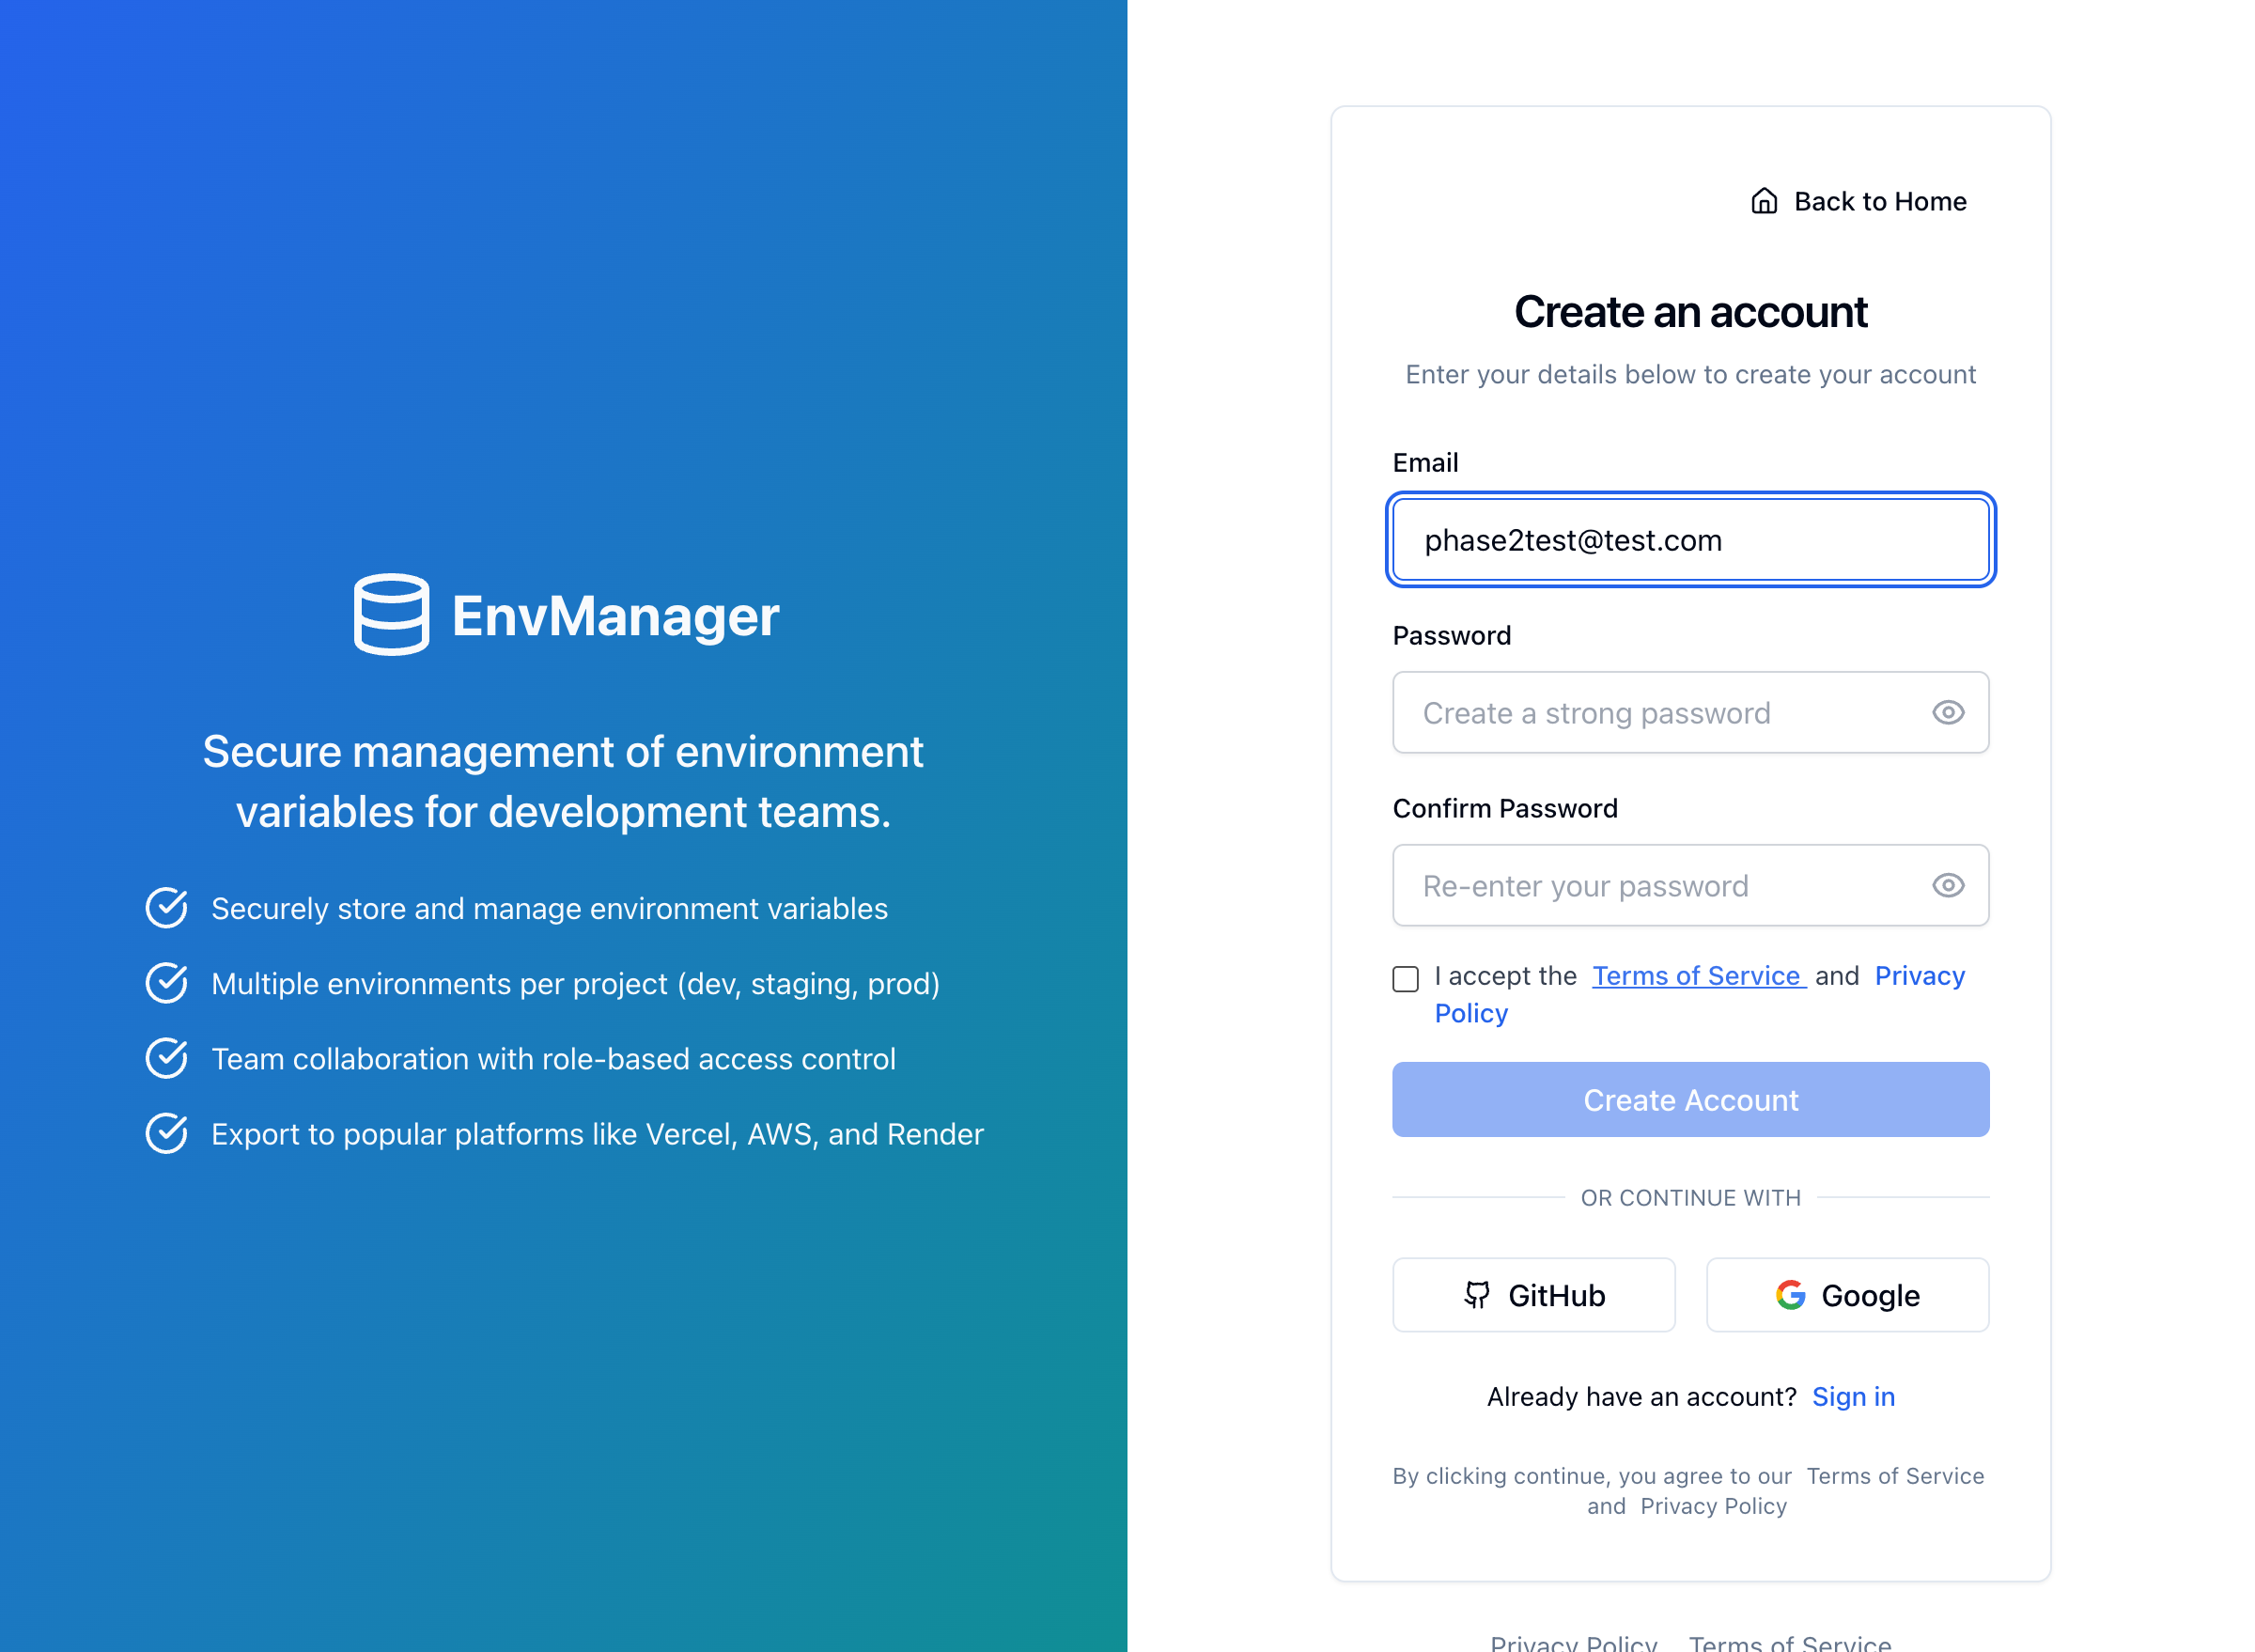
Enter your email and password to create a new account.
2. Create an Organization
After signing up, you'll be prompted to create your first organization. This is your workspace where you'll manage all your projects and team members.
3. Create Your First Project
Click "New Project" to create your first project. Give it a name that matches your application (e.g., "My App" or "Backend API").
4. Add Environment Variables
Once your project is created, you'll see the default environments: Development, Staging, and Production.

Switch between environments using the tabs, and manage your variables from the table.
Select an environment and start adding variables:
- Click "Add Variable"
- Enter the key (e.g.,
DATABASE_URL) - Enter the value
- Toggle "Secret" if the value is sensitive
- Click "Save"
5. Invite Your Team
Go to your organization settings to invite team members:
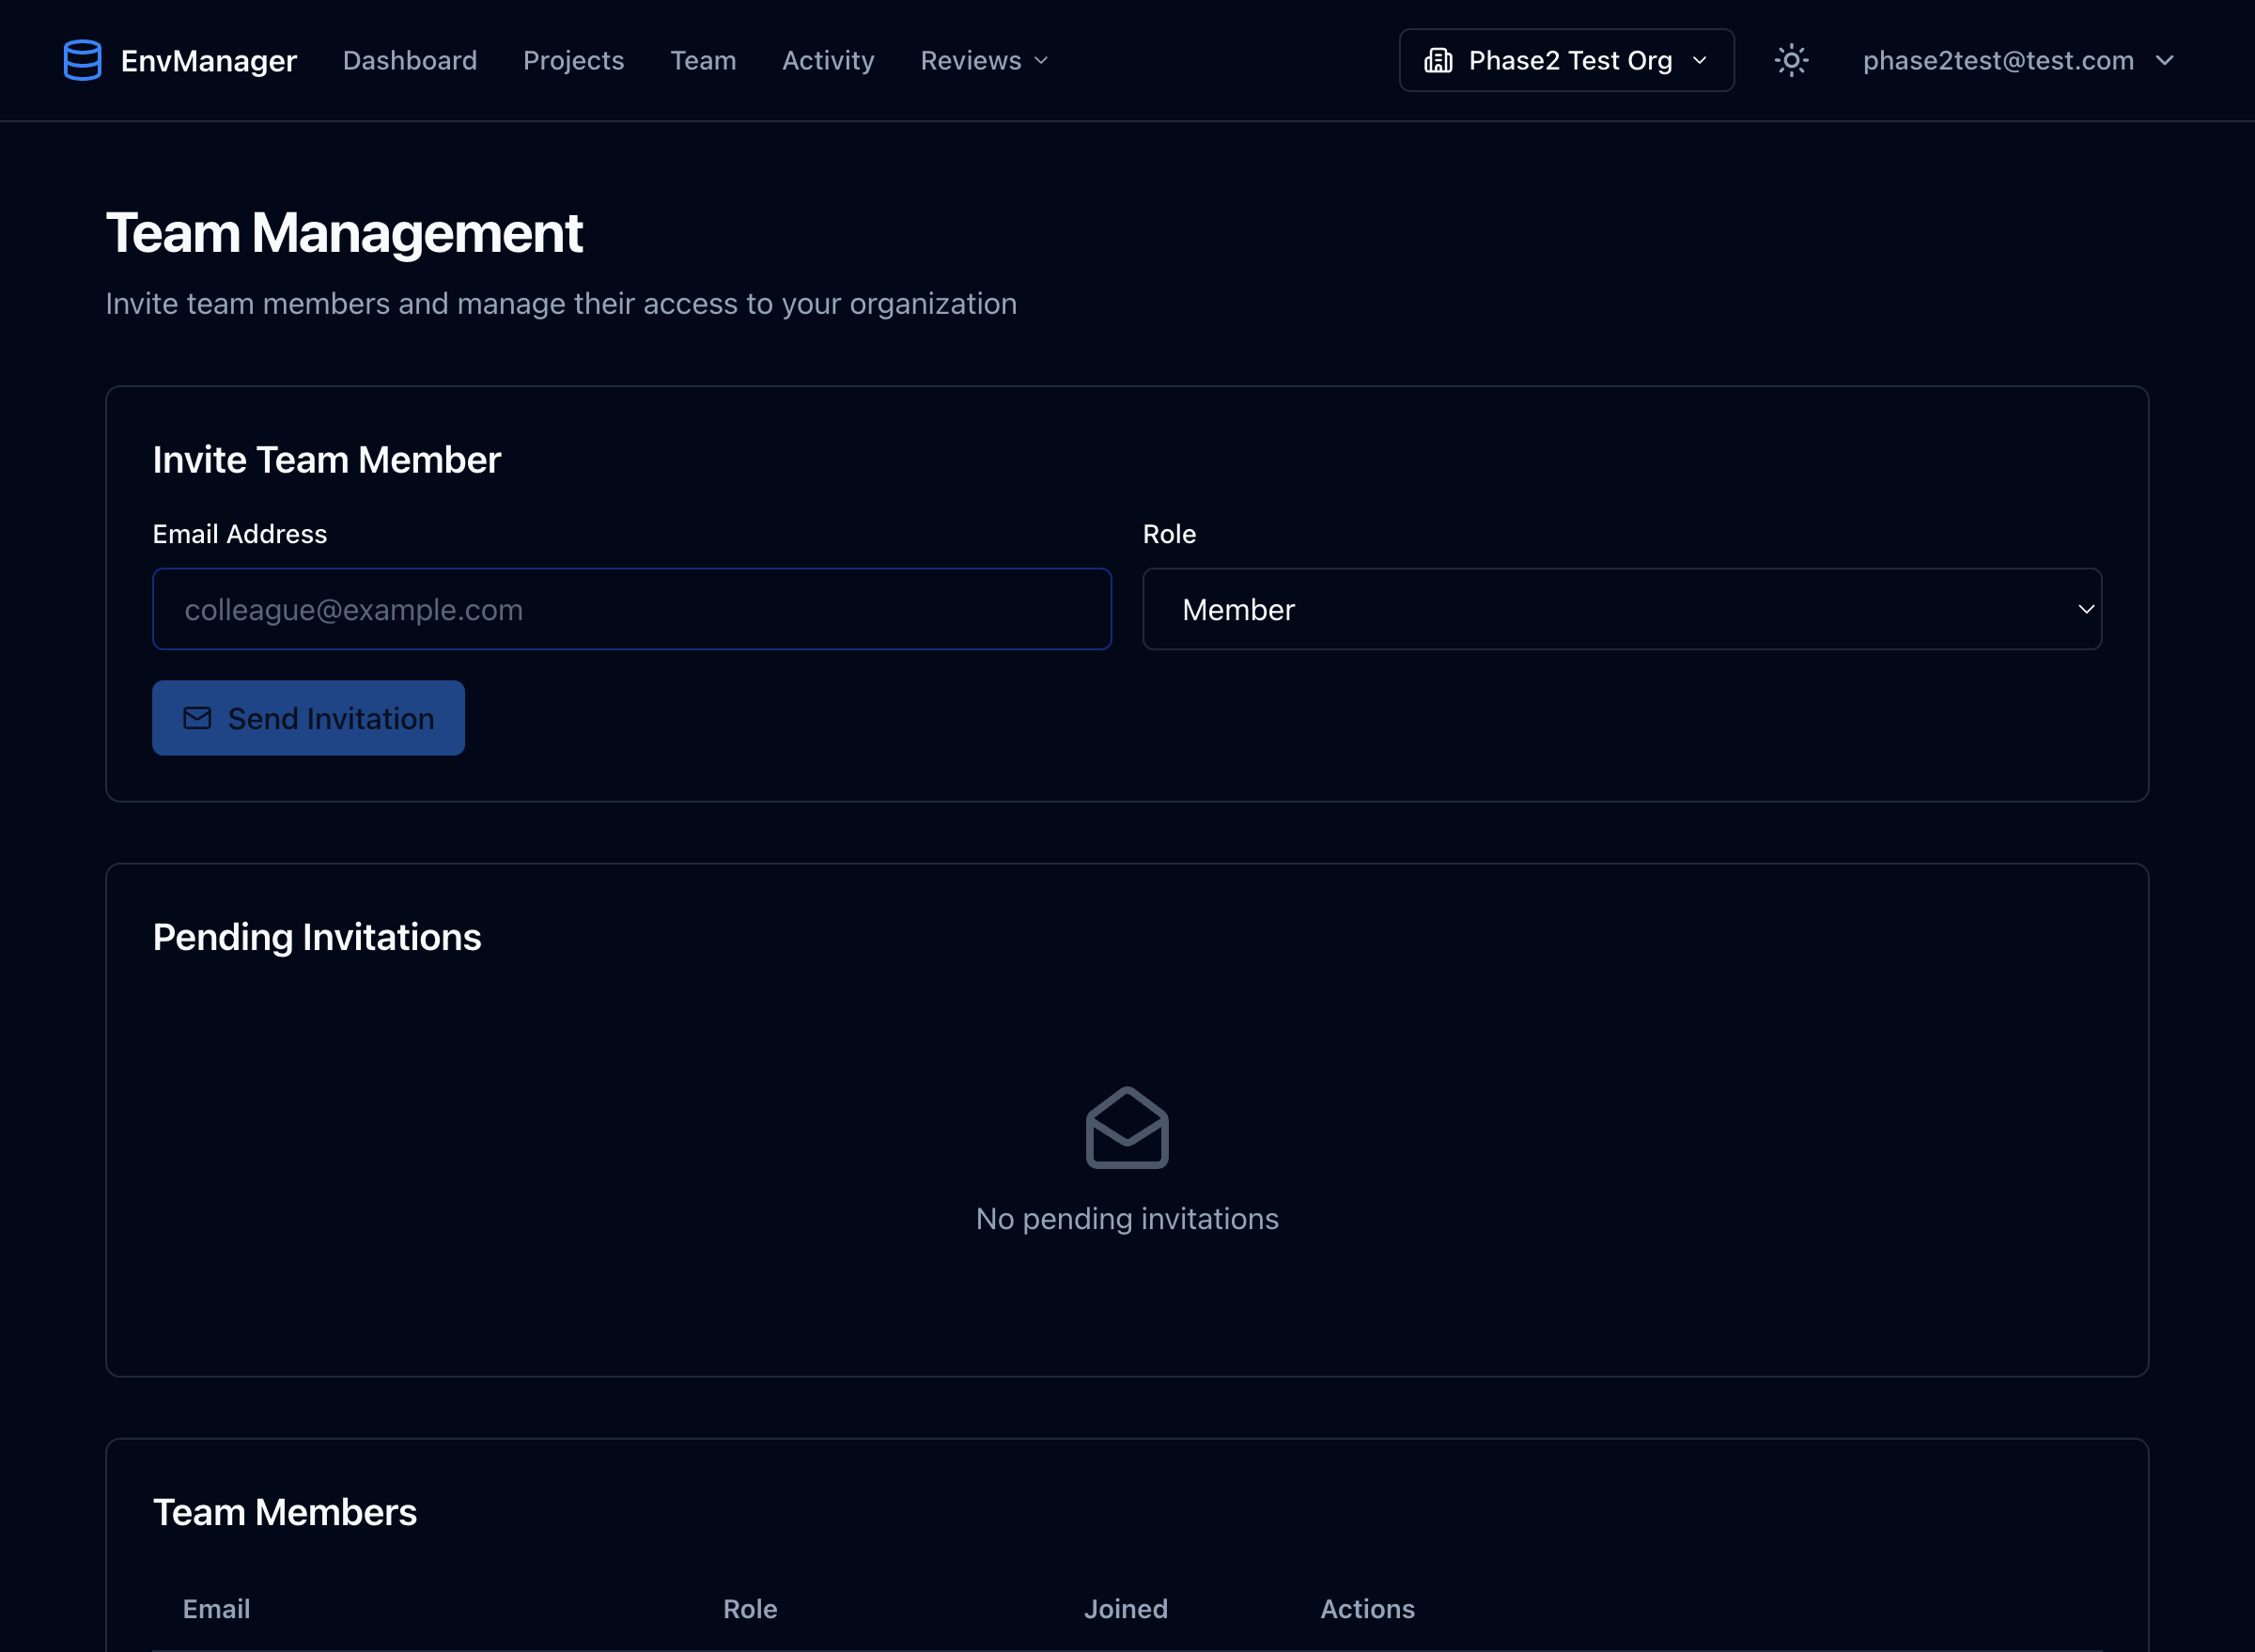
Use the Team Management page to invite members and manage roles.
- Click "Team" in the navigation bar
- Enter a team member's email address
- Select a role (Member, Admin, or Viewer)
- Click "Send Invitation"
Next Steps
Now that you have the basics set up, learn more about:
- Complete Onboarding - Detailed setup guide
- Managing Variables - Create and organize variables
- Team Members - Invite colleagues and manage access